Do your formatting specifications specify how much space there should be between the text of your document and the page’s border? Changing and customizing your document’s margins is simple if you use Google Docs. We’ll show you two methods to do that.
Utilizing the Page Setup box is one method of altering the margins in Google Docs. You manually select your page margins in inches using this approach. The alternative method is to adjust your margins by dragging the ruler at the top of your document.
Use Page Setup to Change Margins in Google Docs
Use the Page Setup approach described here if you want to manually and accurately configure your page margins.
- Step 1: Open Google Docs on your PC to get started.
- Step 2: Next, choose the document whose margins you wish to modify.
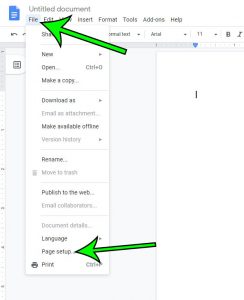
- Step 3: From the menu bar on the document’s editing screen, choose File > Page Setup.
- Step 4: Click “Pages” in the “Page Setup” box at the top.
- Step 5: You may set your page margins under the “Margins (Inches)” section found under the “Pages” menu on the right side of the screen. Each choice in this section implies as follows:
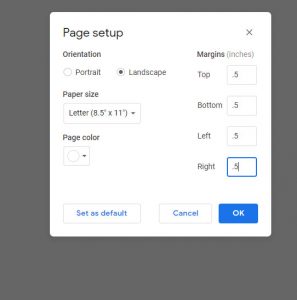
- Top: Define the distance between the content of your website and the top of your page.
- Bottom: This is the area between your page’s content and the bottom of the page.
- Left: This is the point at which the left-side content of your page begins.
- Right: This number indicates the size of the blank space from the right side of your document.
- Step 6: After you’ve made your modifications to the margins, click “OK.”
Tip: Press Ctrl+Z (Windows) or Command+Z (Mac) to swiftly reverse your margin modifications. You now have your margins set in your current Google Doc.
Change the Margins in Google Docs by Using the Ruler
With the ruler method, you may adjust the page margins by dragging the ruler at the top of your document. To apply this method,
- Step 1: open your work in Google Docs first.
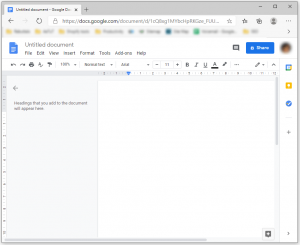
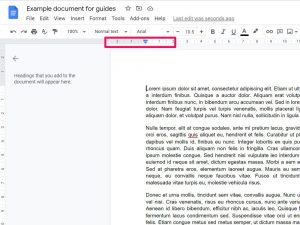
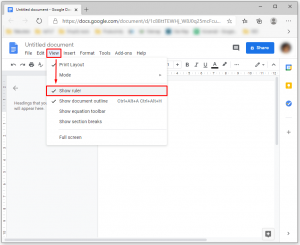
- Step 2: If the ruler at the top of your page isn’t already visible, turn it on by selecting View > Show Ruler from the menu bar in Google Docs
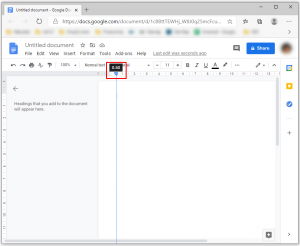
- Step 3: Move your cursor over the gray area on the ruler at the top of your page to adjust the left and right margins. Drag the gray area to adjust the margins after that.
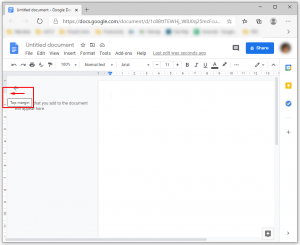
- Step 4: To change the top and bottom margins of your document, use the ruler’s gray area on the left and right sides (vertical ruler).
Your modifications are stored automatically, so you don’t have to do anything. And you’ve successfully modified the margins in your Google Docs document. Do you have a preferred format for Google Docs documents? If so, you might want to alter some of Docs’ default settings. You can save a ton of time by doing that.
Join Our Telegram Channel For More Exciting Updates Via The Link Below ⤵️
